Step-By-Step guide for Anaconda installation On Linux For Data Science

Anaconda® is a powerful package manager, an environment manager, a Python/R data science distribution, and a collection of over 1,500+ open source packages. Anaconda is free and easy to install, and it offers free community support.
The Tutorial is divided into 4 parts:
Part 1: Installing Anaconda on Linux
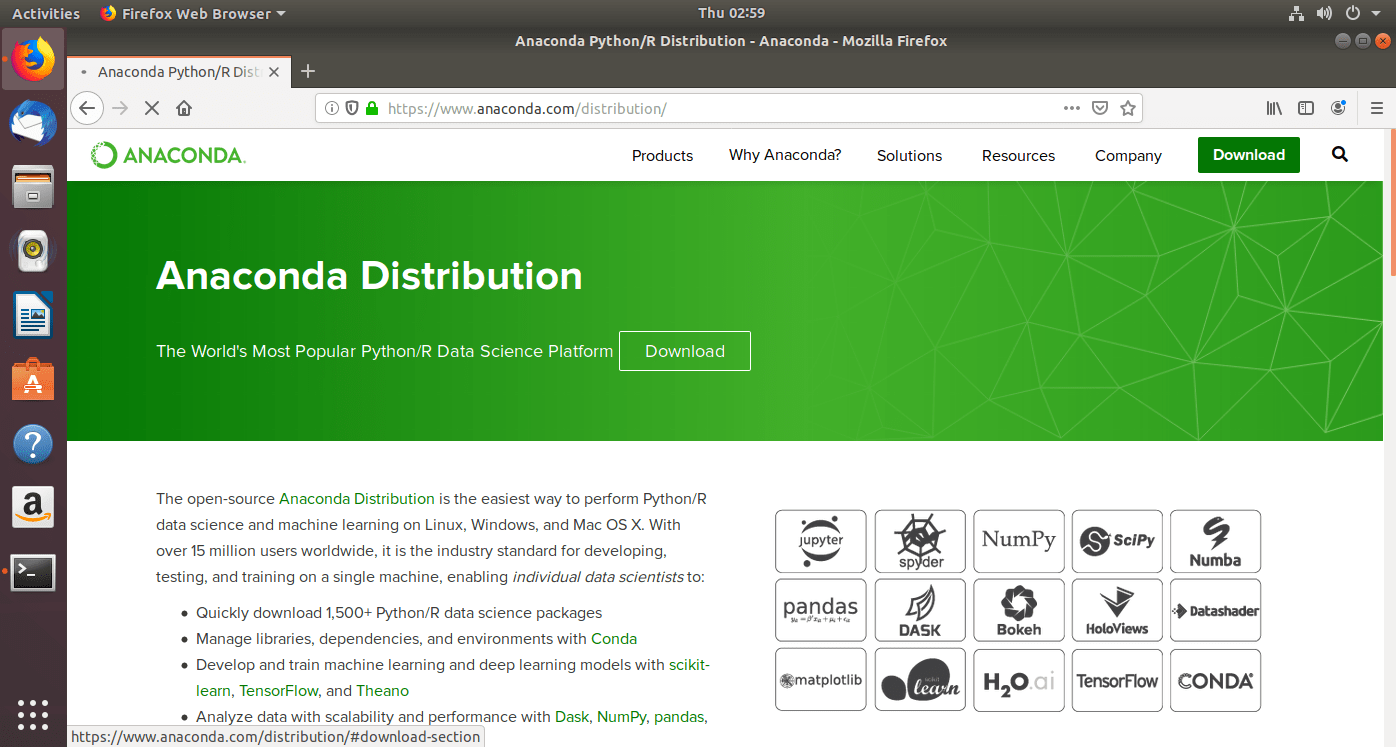
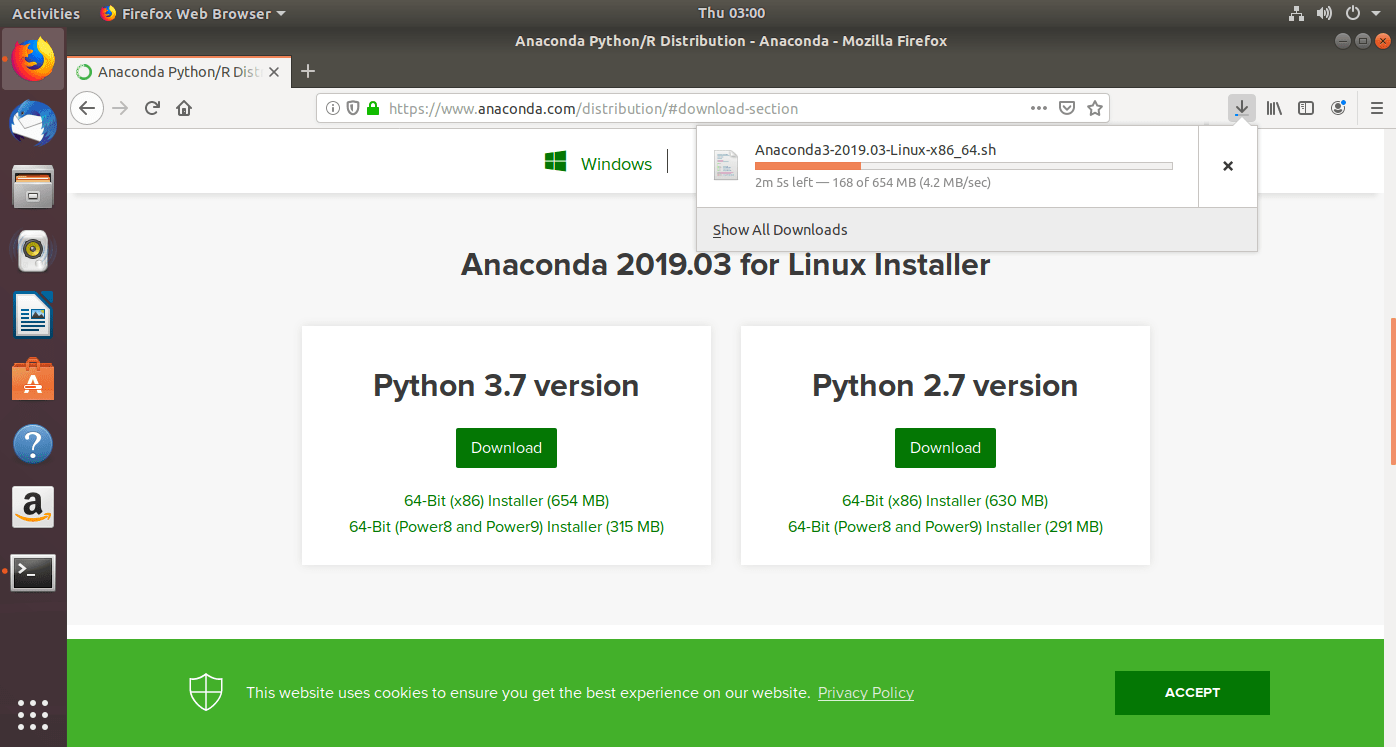
- Open a web-browser and go to the official anaconda website

- Click the download button on the top right corner.
- Choose linux
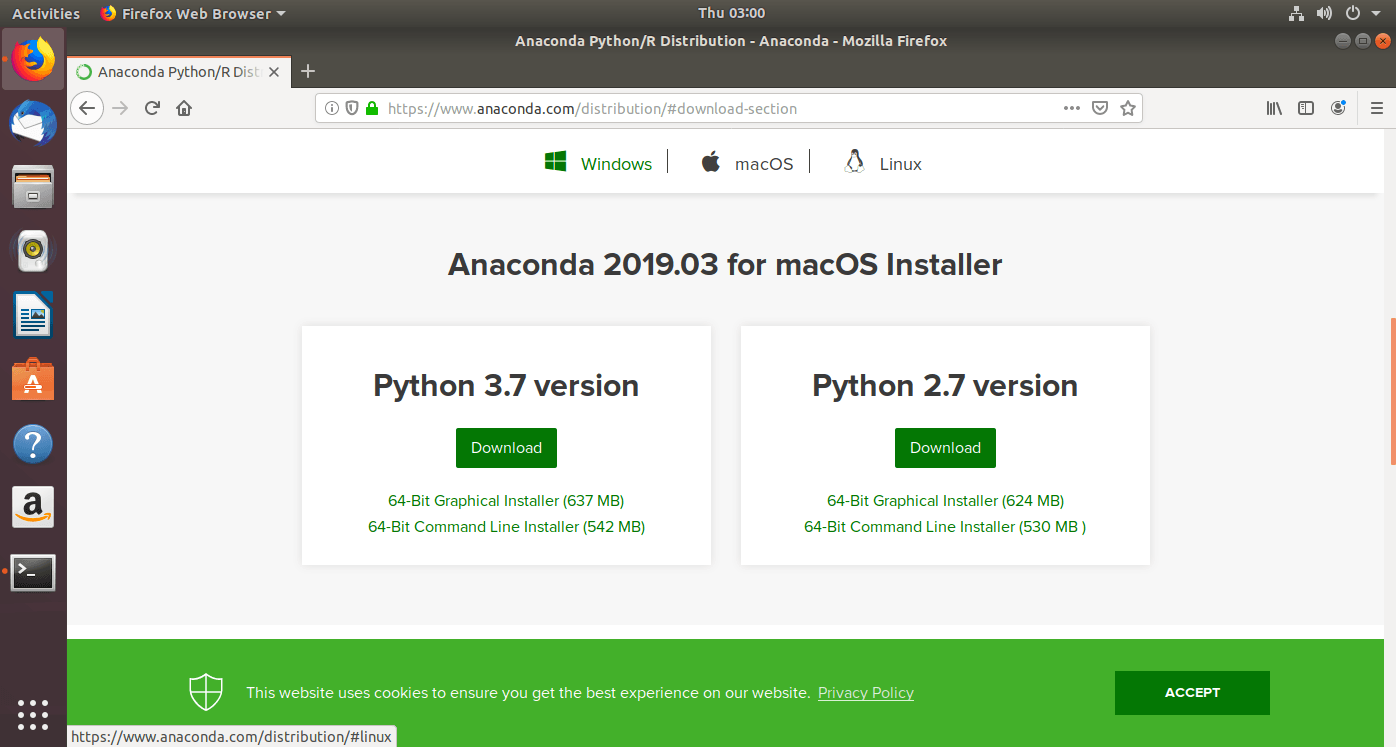
- Click on the download button for Python 3.7 version.
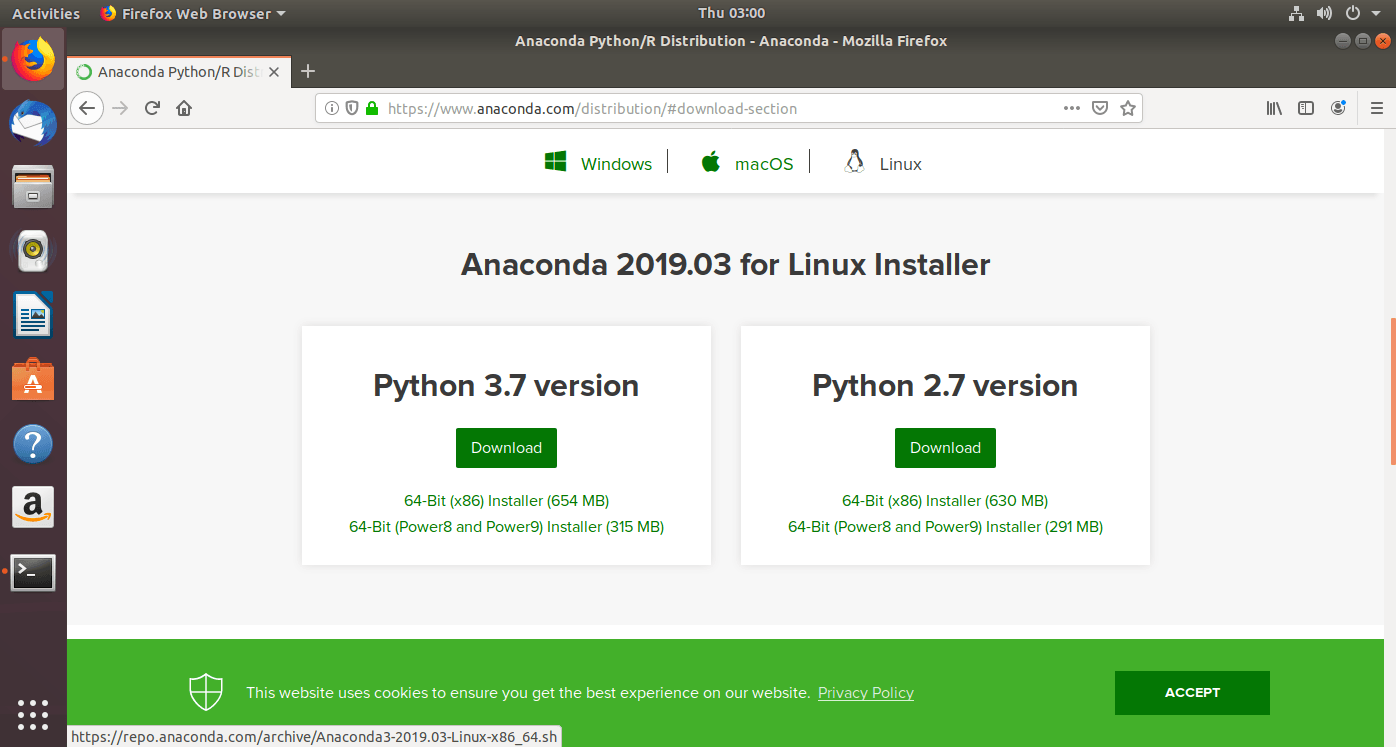
- The Downloaded file will be saved in the default download folder of your web-browser
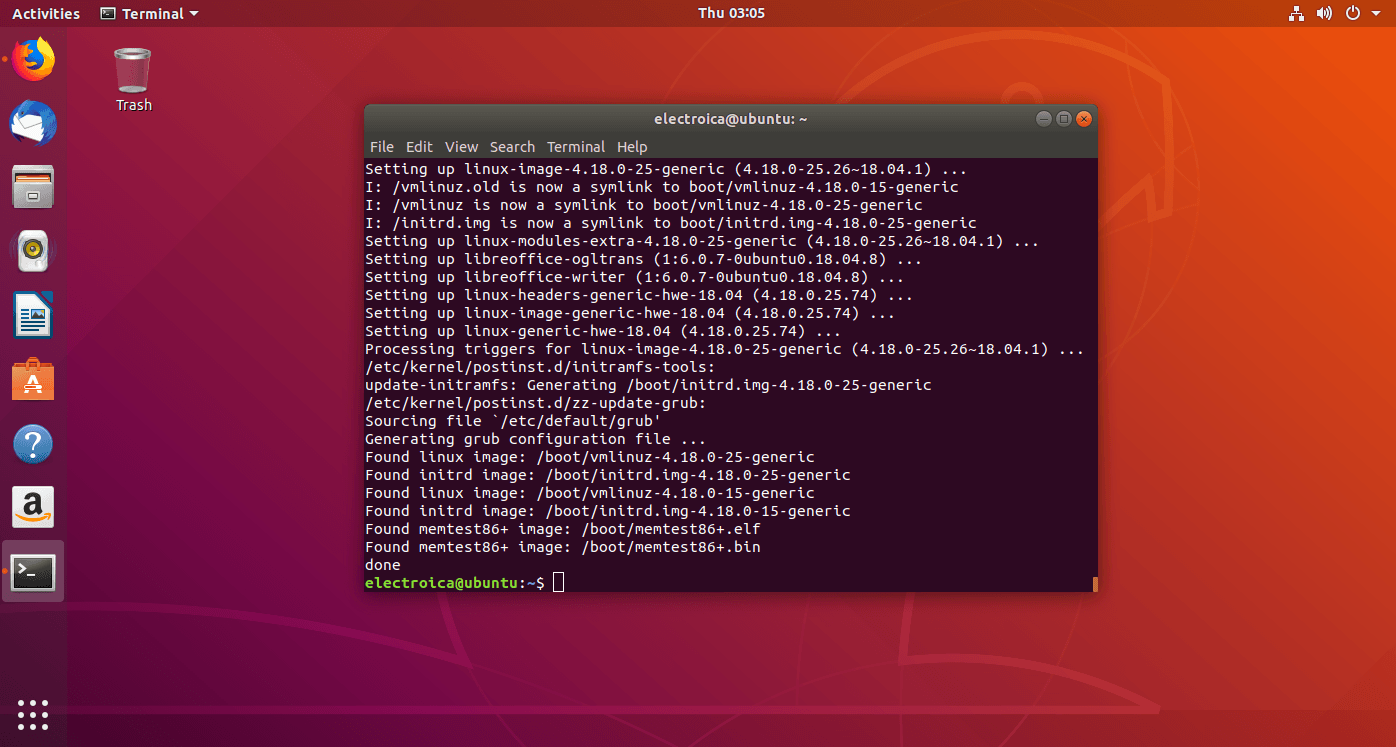
- Open the linux termial by pressing Ctrl+Alt+T

- In the terminal we have to run 3 commands to make your our linux version is updated with the latest and necessary packages.
sudo apt-get upgradesudo apt-get updatesudo apt-get dist-upgrade
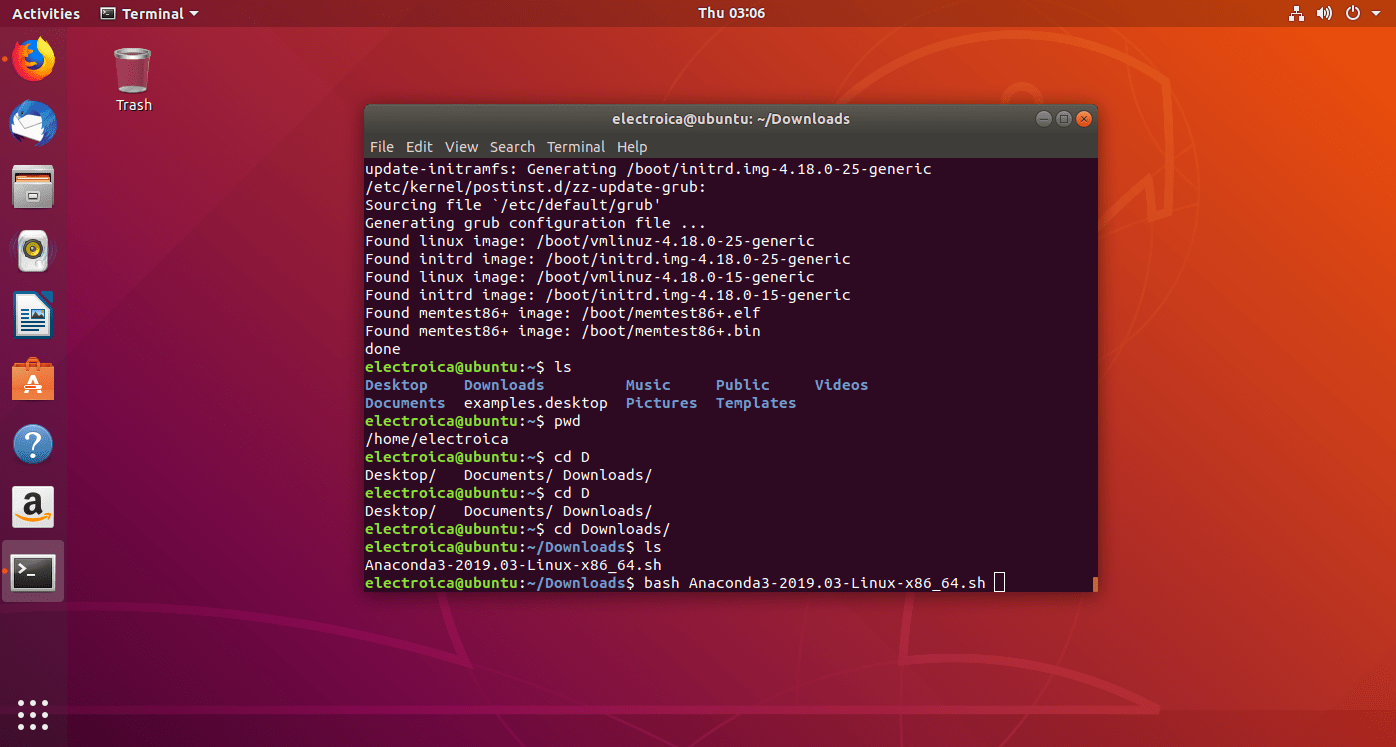
- Now we have to execute the file which we downloaded from the anaconda website.
- Navigate to the folder in which the downloaded file is saved by using
cdcommand. In my case the downloaded file is saved in /Downloads directory - Check if the file named ” Anaconda3-2019.03-Linux-x86_64.sh” is present by using
lscommand
- Navigate to the folder in which the downloaded file is saved by using
- To run the .sh file we use the bash command followed by the file name
- bash
Anaconda3-2019.03-Linux-x86_64.sh
- bash
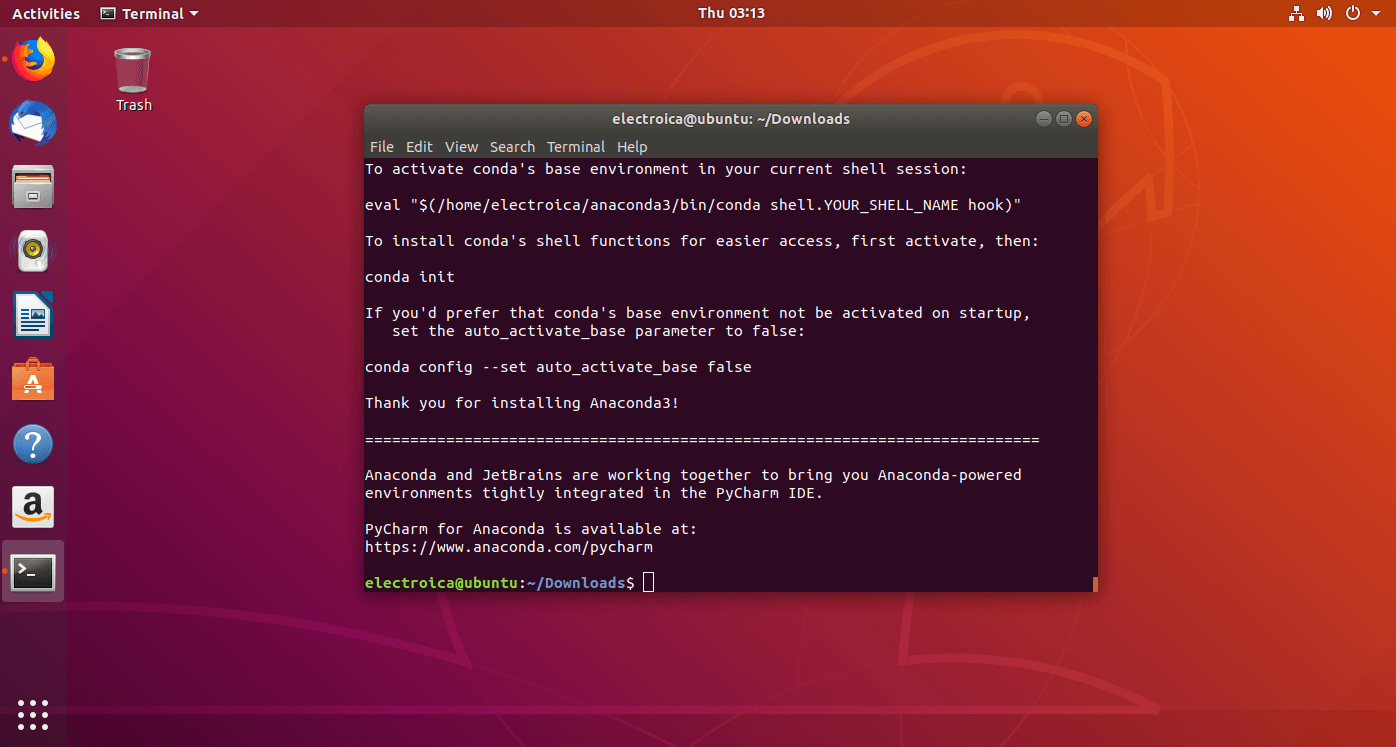
- Press Enter to continue the installation then type ‘yes‘.The installaton will start.
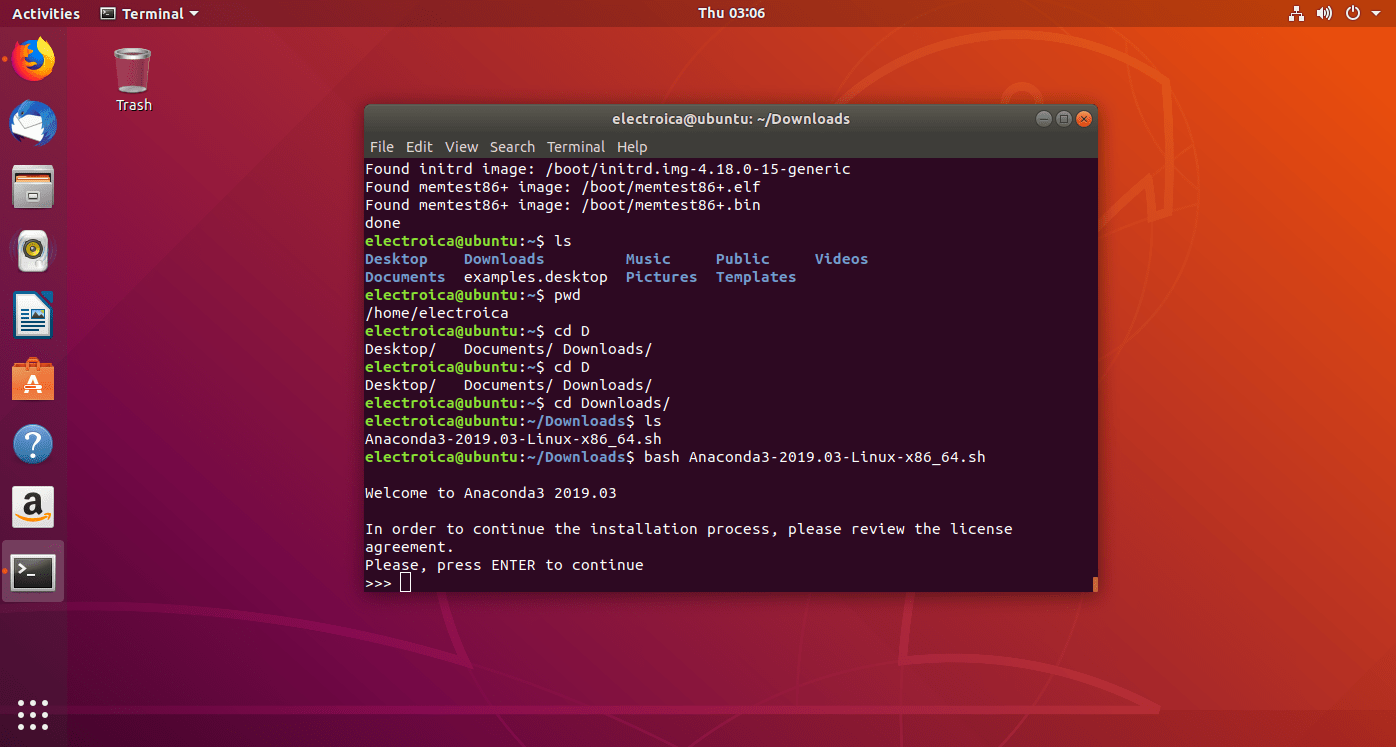
- If the installation shows no error, Anaconda is installed
Part 2: Testing Anaconda
- Type
conda listin the terminal window. This will show all the python packages which are currently installed.
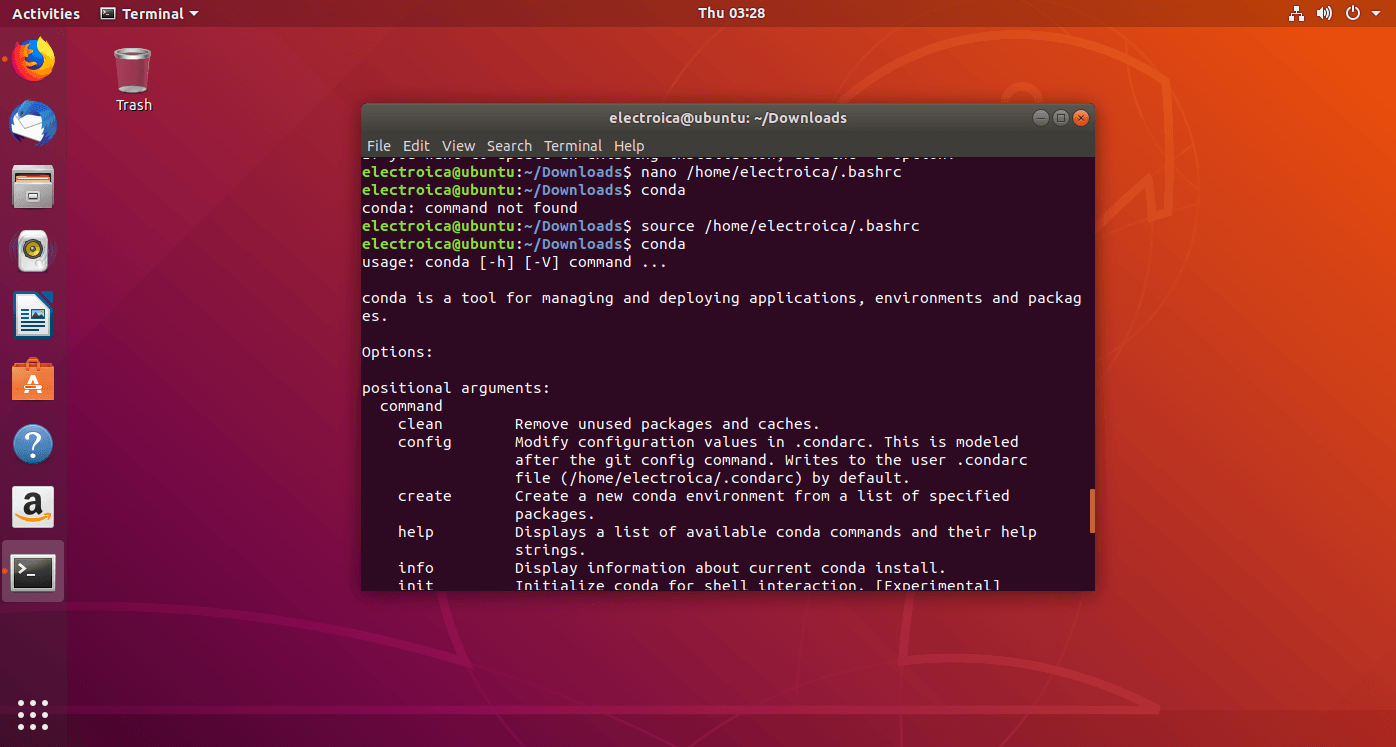
- If terminal shows an error “conda command not found“.
nano /home/username/.bashrc- add the text “
export PATH=~/anaconda3/bin:$path“ - save the file pressing Ctrl+X the Y and then Enter.
- Type the command in terminal “
source /home/username/.bashrc - Close the terminal and run a new terminal.
- To check the python version installed run command ”
python3 --version“ - To check the conda version installed run the command ”
conda --version“
- Run the command “
conda init” to initialize the conda package manager and its base environment.
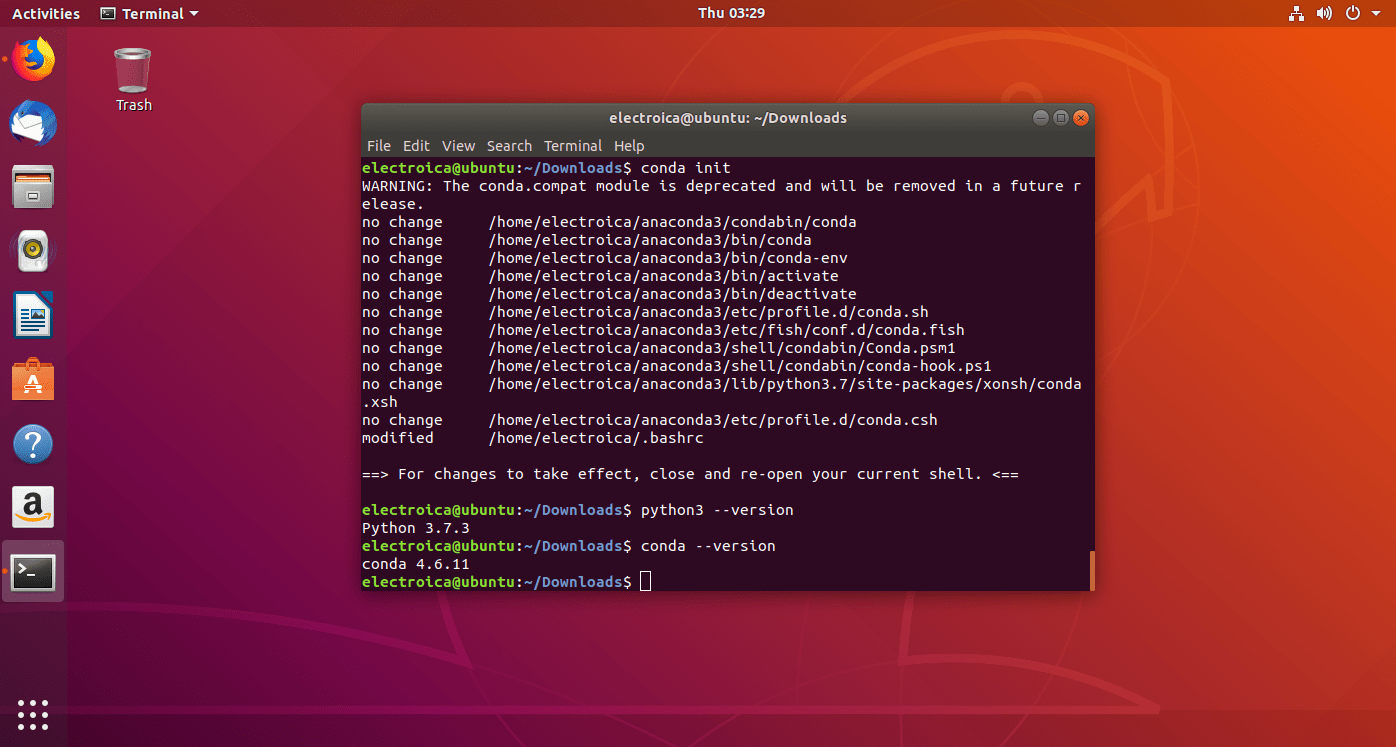
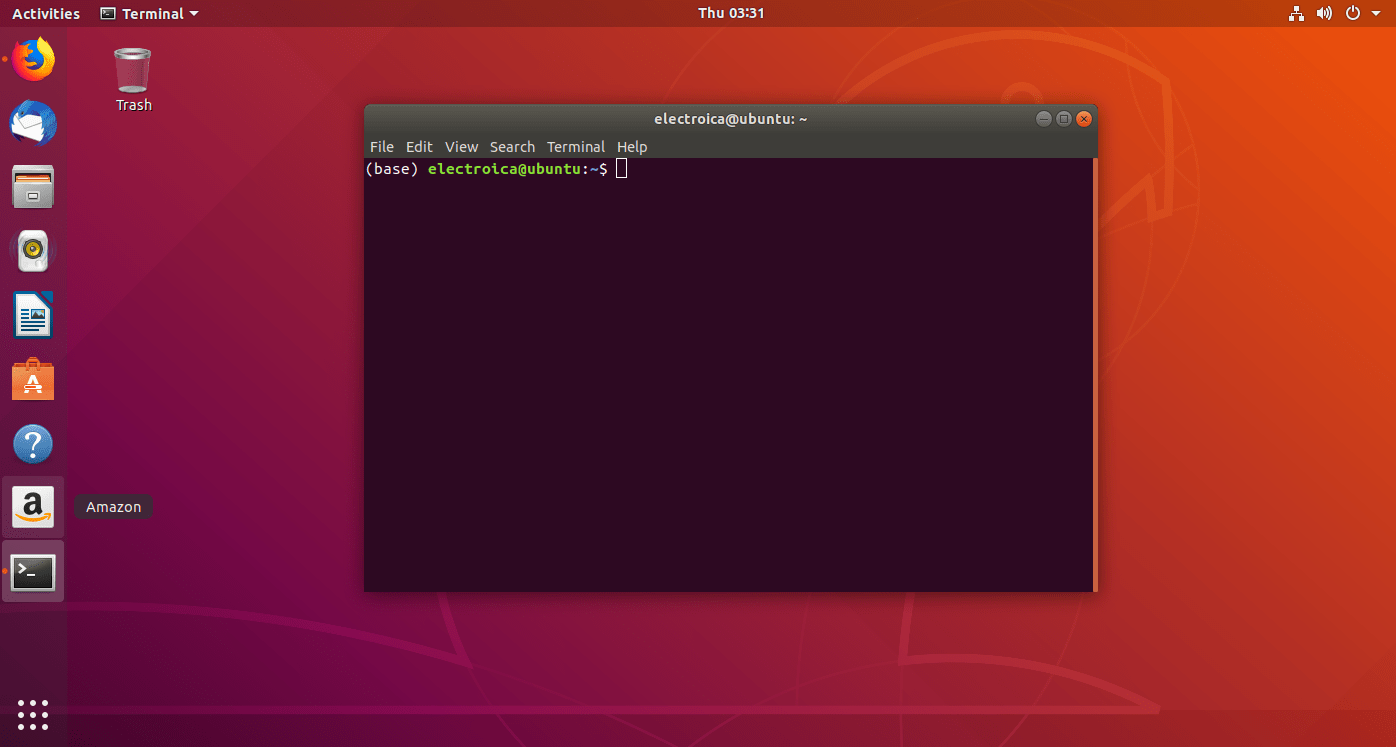
- You can observe (base) written before the prompt. This base is by default conda base environment. We can setup our own virtual environment too.
Part 3: Setting up our own Virtual Environment
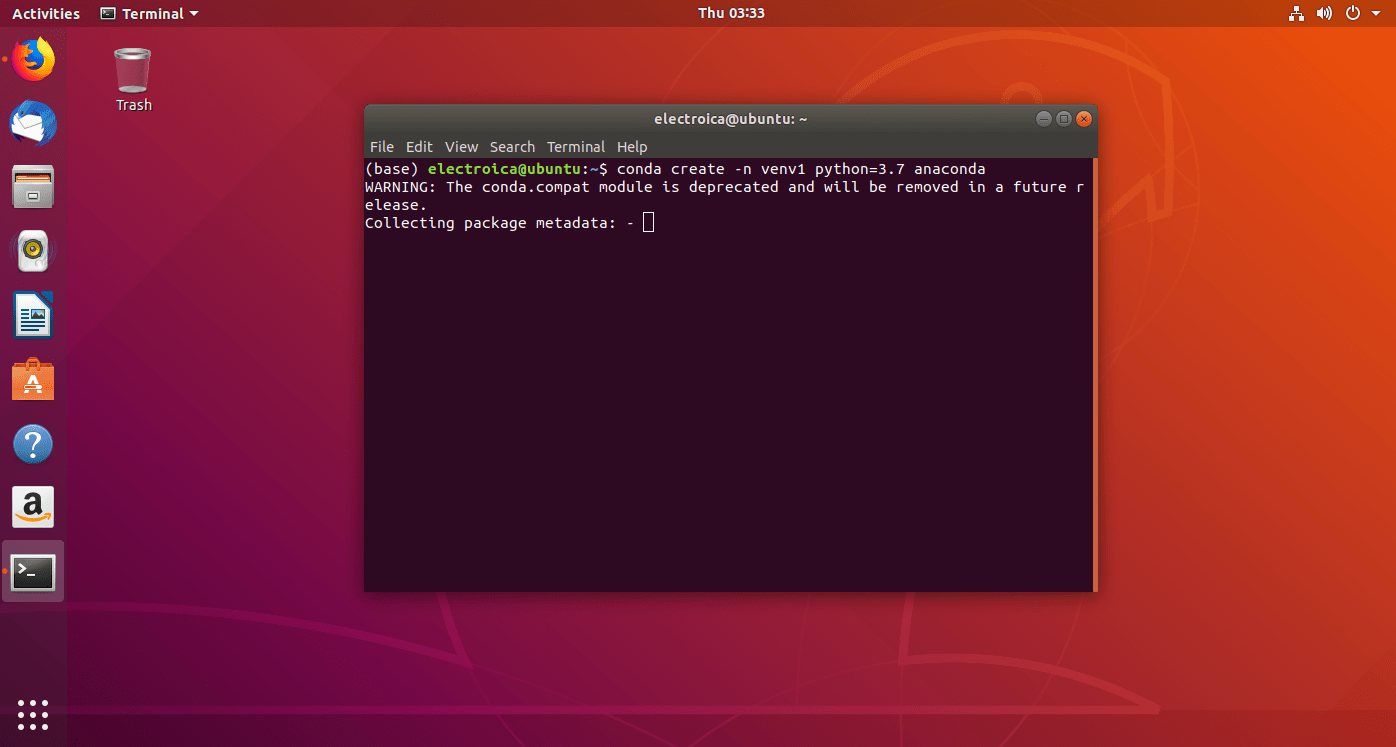
- To Setup our own virtual environment we have to write the command
conda create -n venv1 python=3.7 anaconda(where venv1 is name of virtual environment)
- To deactivate a virtual environment write the command
conda deactivate
- To activate a virtual environment write the command
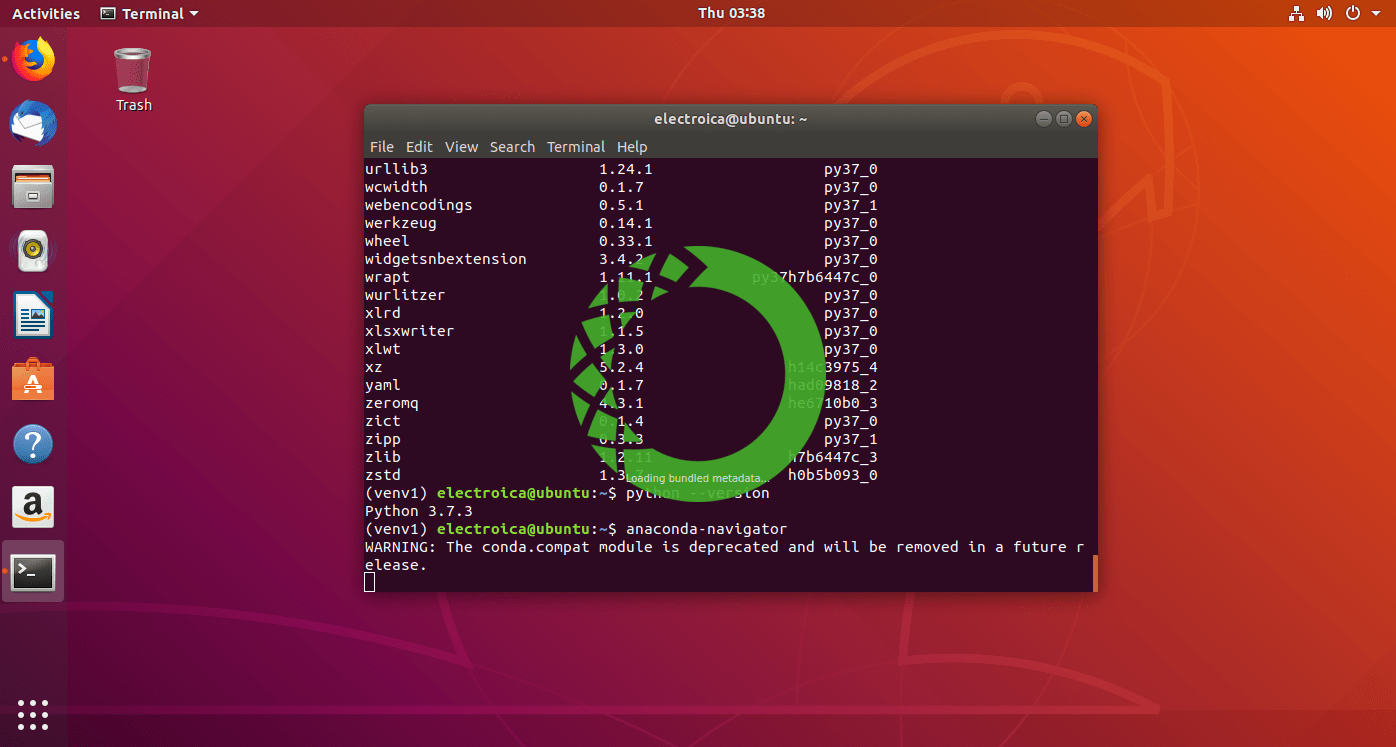
conda activate venv1(where venv1 is the virtual environment name
- Now you can see (venv1) instead of (base) before prompt in the terminal window.
Part 4: Installing Packages in virtual environment
- Activate the virtual environment in which you want to install the python package.
- Type command
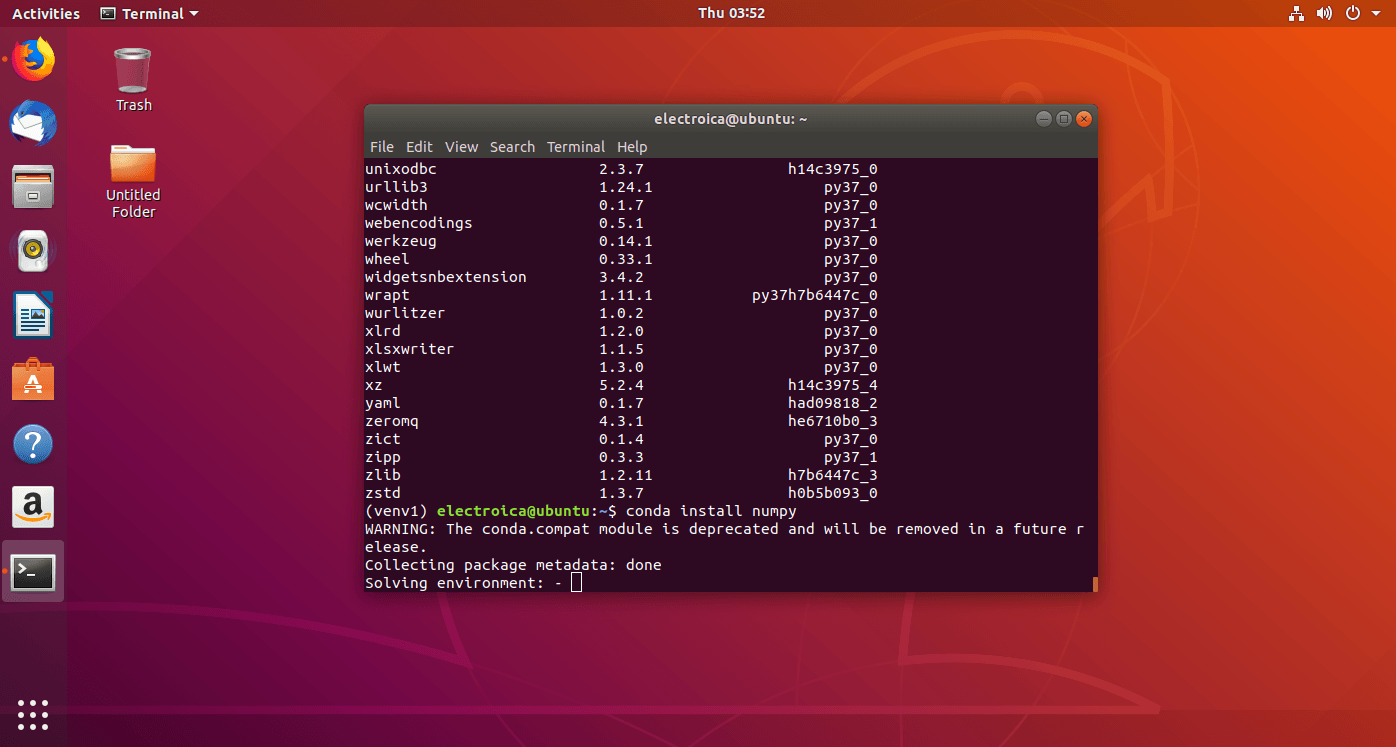
conda search numpyto search the anaconda database for the python package. - Type Command
conda install numpyto install the python numpy package.
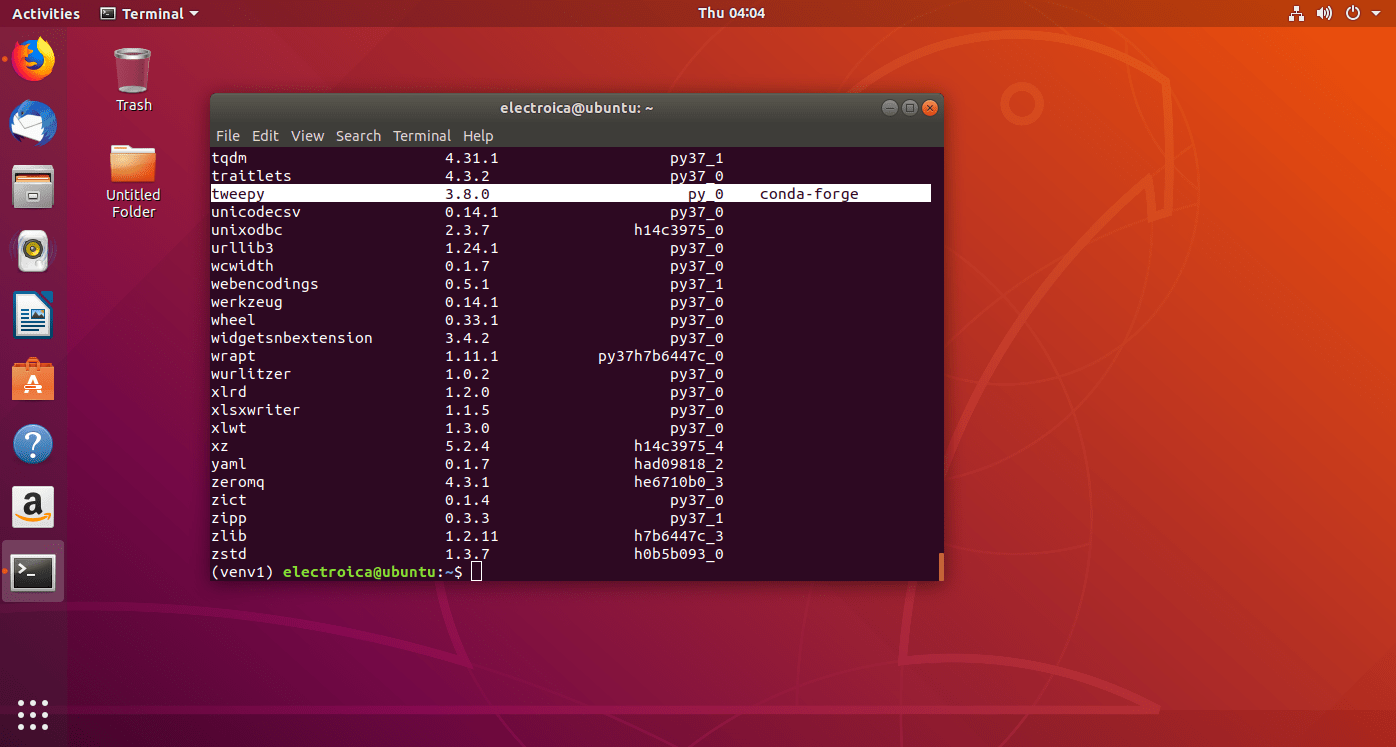
- If a package is not available in the anaconda database you can use the command
conda install -c conda-forge tweepy - Run command
conda listto check if the python package is installed or not.
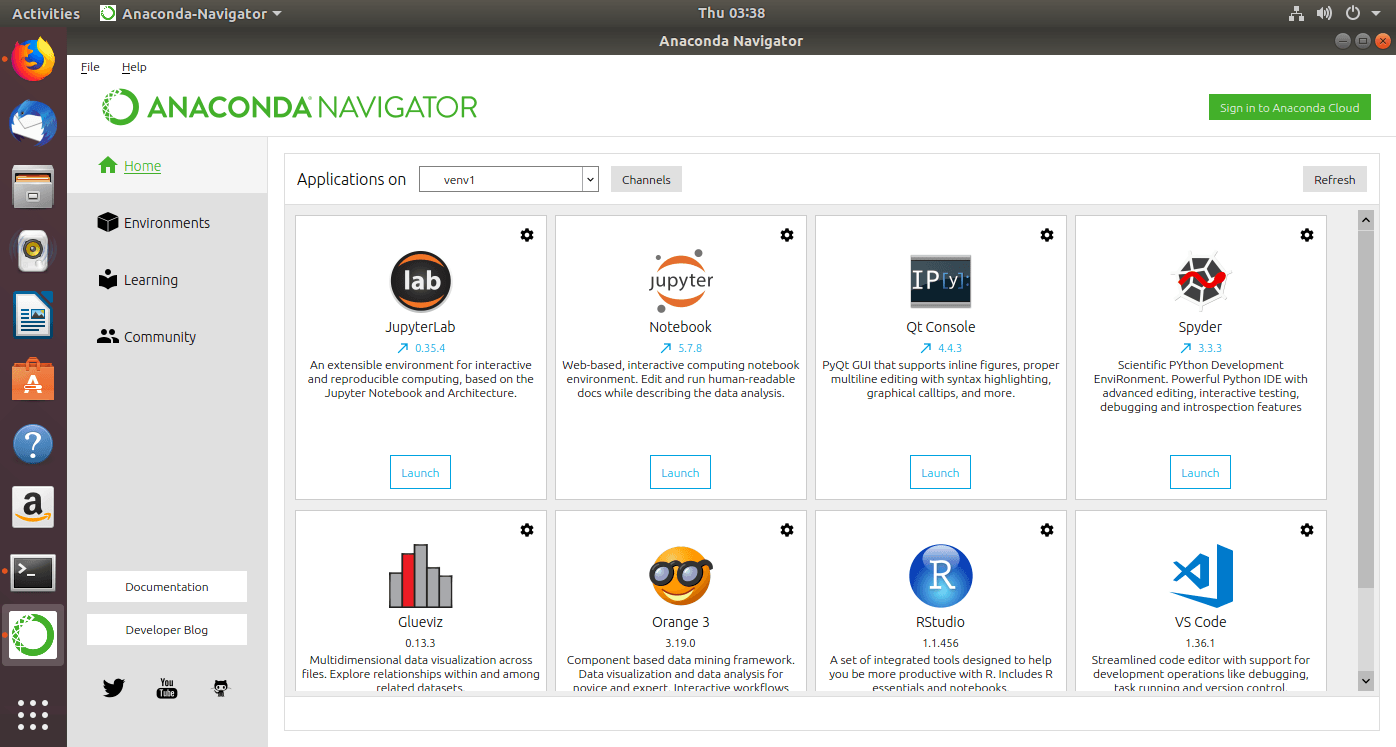
Finally Run Command anaconda-navigator to open the anaconda navigator and explore PYTHON “jupyter notebook”, “spyder3 IDE”, “VScode”, “RStudio”