
Trackbar in OpenCV Python
There are times when you want to run the program with different value or parameter and experiment to find the optimum value to figure out the best parameter value.
Editing the variable value in source code and running the program, again and again, can be tedious, instead, you can bind trackbars to the output image window.
These trackbars will either call a function or update variable value based on slider position
In this tutorial, we will learn how to make trackbars and use them for experimentation with examples code
- What is a trackbar
- Trackbars in OpenCV
- cv2.createTrackbar() arguments
- cv2.getTrackbarPos() arguments
- OpenCV Trackbar Example Code
- Using the trackbar callback function
- OpenCV Trackbar as on/off switch or button
- More Example of opencv trackbar
What is a trackbar?
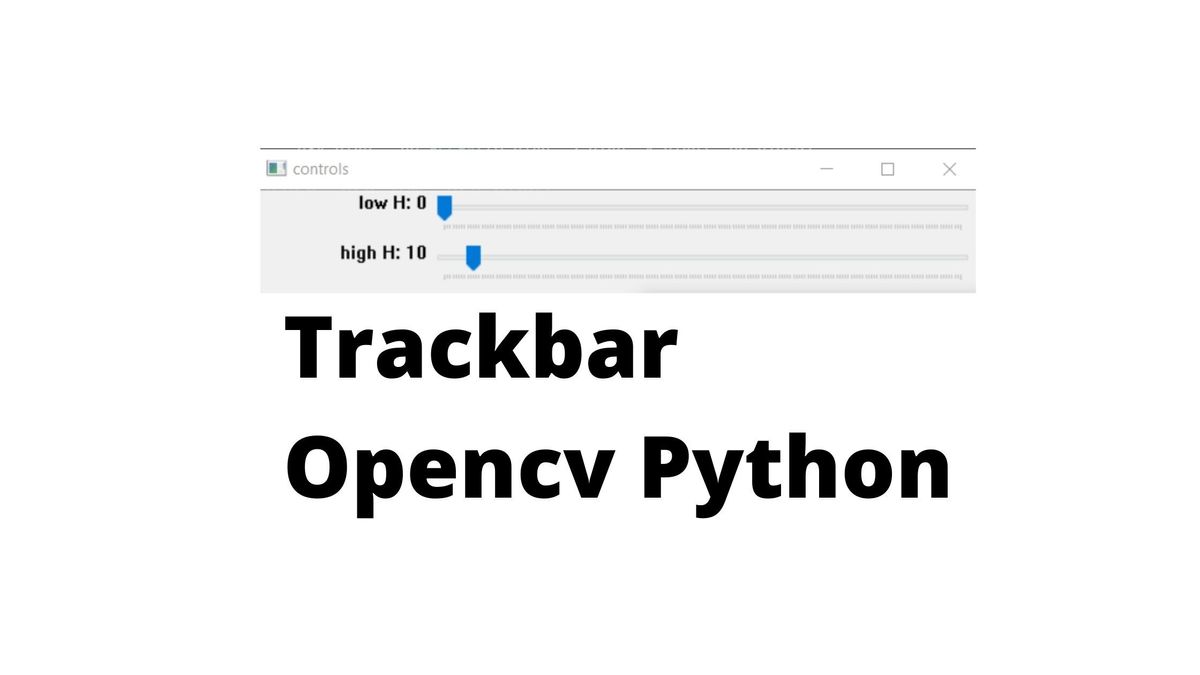
Trackbar is a GUI element that let the user to select a specific value within a range of values by sliding a slider linearly. It’s similar to scrolling but it limits the user to select a specific value with its minimum and maximum limits.
Trackbars in OpenCV
Trackbars in OpenCV are helpful to tweak a variable value instantly without closing and relaunching the program.
To create a trackbar in OpenCV the OpenCV library provides cv2.createTrackbar() function, to read the current poisition of the trackbar slider you can use cv2.getTrackbarPos() function to change the position of trackbar use cv2.setTrackbarPos().

cv2.createTrackbar() arguments
- Trackbar name
- Window name
- Default slider value
- Maximum value
- Callback function
cv2.getTrackbarPos() arguments
- Trackbar name
- Window name
cv2.setTrackbarPos() arguments
- Trackbar name
- Window name
- New Value
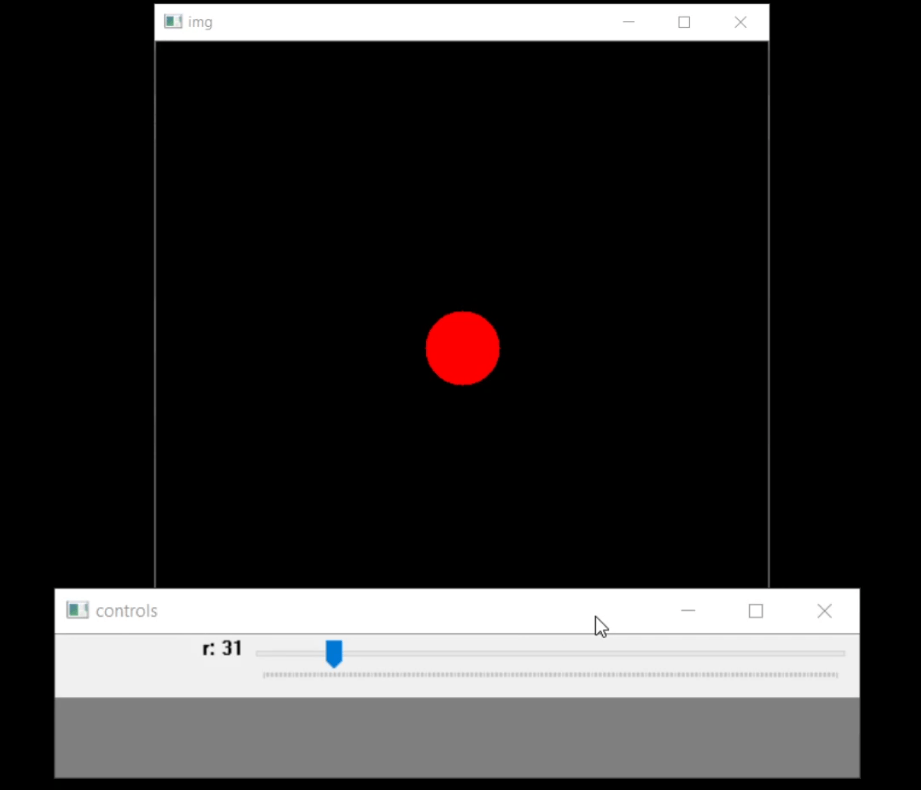
OpenCV Trackbar Example Code
For this example, we will be making a simple program using OpenCV tracker to change the radius of a circle.
For every trackbar there are 2 necessary requirement
- a window which can contain the trackbar
- a callback function
Flow of the sample trackbar program
- Import necessary packages
- cv2 and numpy
- Define a function which can be used as call back function for the trackbar
- def nothing
- create a window ‘controls’ to contain the trackbar
- cv2.namedWindow(‘controls’)
- create a trackbar ‘r’ in ‘controls’ window
- cv2.createTrackbar(‘r’,’controls’,15,255,nothing)
- create a while loop
- Create a black image
- img = np.zeros((512,512,3), np.uint8)
- calculate center of the image for circle center
- create a radius varible
- use cv2.getTrackbarPos(‘r’,’controls’) to assign current trackbar position value to radius variable
- draw a circle in the center of the black image with radius ‘radius’
- cv2.circle(img,(img_center_y,img_center_x), radius, (0,0,255), -1)
- show the black imge
- cv2.imshow(‘img’,img)
- use waitkey to add delay and stop the function when the user presses esc key
- k = cv2.waitKey(1) & 0xFF
- finnaly destroy all widows after exiting the while loop
- cv2.destroyAllWindows()
#import opencv and numpy
import cv2
import numpy as np

#trackbar callback fucntion does nothing but required for trackbar
def nothing(x):
	pass

#create a seperate window named 'controls' for trackbar
cv2.namedWindow('controls')
#create trackbar in 'controls' window with name 'r''
cv2.createTrackbar('r','controls',15,255,nothing)


#create a while loop act as refresh for the view
while(1):

	#create a black image
	img = np.zeros((512,512,3), np.uint8)
	#calculate center of image
	img_center_y=img.shape[0]//2
	img_center_x=img.shape[1]//2

	#returns current position/value of trackbar
	radius= int(cv2.getTrackbarPos('r','controls'))
	#draw a red circle in the center of the image with radius set by trackbar position
	cv2.circle(img,(img_center_y,img_center_x), radius, (0,0,255), -1)
	#show the image window
	cv2.imshow('img',img)

	# waitfor the user to press escape and break the while loop
	k = cv2.waitKey(1) & 0xFF
	if k == 27:
		break

#destroys all window
cv2.destroyAllWindows()
Using the trackbar callback function
The callback function used in the OpenCV trackbar function is called every time the user moves the slider.
The below program changes the color of the circle from ‘red’ to ‘blue’ if the trackbar slider value is >127.
The change_color callback function checks the slider value and changes the global color value to blue as soon as the slider value is above 127.
#import opencv and numpy
import cv2
import numpy as np
#trackbar callback fucntion does nothing but required for trackbar
def change_color(x):
#condition to change color if trackbar value is greater than 127
if(cv2.getTrackbarPos('r','controls')>127):
global circle_color
circle_color=(255,0,0)
else:
circle_color=(0,0,255)
#create a seperate window named 'controls' for trackbar
cv2.namedWindow('controls')
#create trackbar in 'controls' window with name 'r''
cv2.createTrackbar('r','controls',15,255,change_color)
#initial color
circle_color=(0,0,255)
while(1):
#create a black image
img = np.zeros((512,512,3), np.uint8)
#calculate center of image
img_center_y=img.shape[0]//2
img_center_x=img.shape[1]//2
#returns current position/value of trackbar
radius= int(cv2.getTrackbarPos('r','controls'))
#draw a red circle in the center of the image with radius set by trackbar position
cv2.circle(img,(img_center_y,img_center_x), radius, circle_color, -1)
#show the image window
cv2.imshow('img',img)
#waitfor the user to press escape and break the while loop
k = cv2.waitKey(1) & 0xFF
if k == 27:
break
#destroys all window
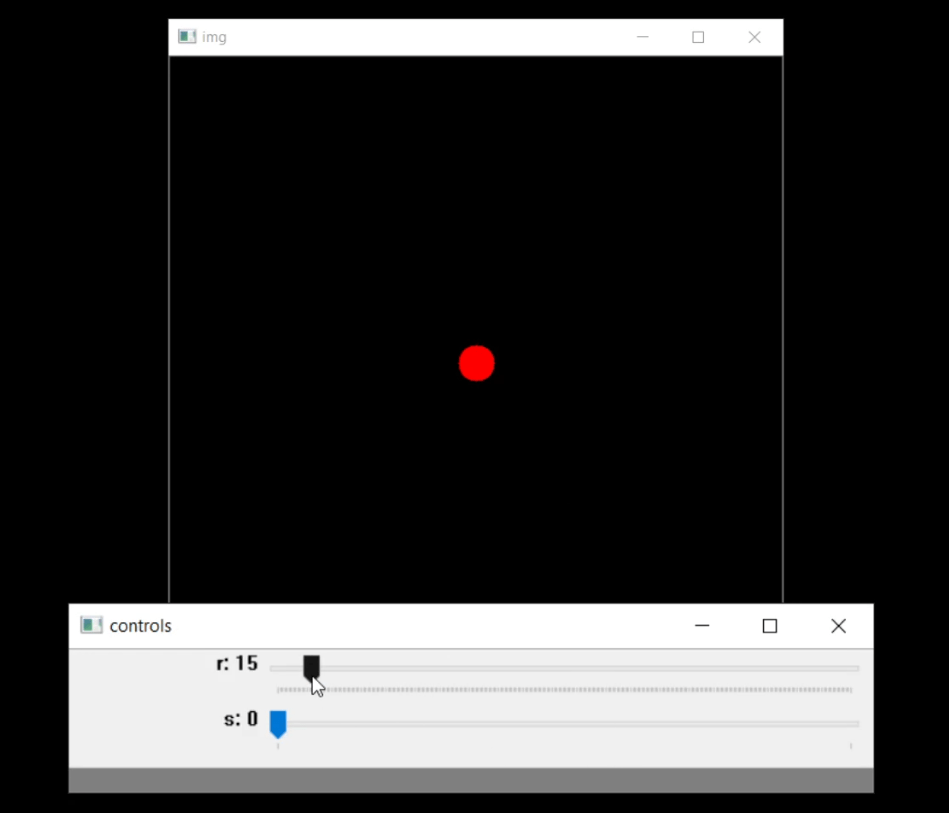
cv2.destroyAllWindows()OpenCV Trackbar as on/off switch or button
A trackbar can be modified to be used as a switch by limiting the slider range to just 2 numbers (0-1).
cv2.createTrackbar(‘r’,’controls’,0,1,change_color) will convert the slider into a switch.
The below program draws a circle if the switch slider is 0 (off) and draws a square if switch slider is on (1)
#import opencv and numpy
import cv2
import numpy as np

#trackbar callback fucntion does nothing but required for trackbar


def nothing(x):
	pass

def change_color(x):
	#condition to change color if trackbar value is greater than 127
	if(cv2.getTrackbarPos('r','controls')>127):
		global color
		color=(255,0,0)
	else:
		color=(0,0,255)

#create a seperate window named 'controls' for trackbar
cv2.namedWindow('controls')
#create trackbar in 'controls' window with name 'r''
cv2.createTrackbar('r','controls',15,255,change_color)
cv2.createTrackbar('s','controls',0,1,nothing)

#initial color
color=(0,0,255)


while(1):
	#create a black image
	img = np.zeros((512,512,3), np.uint8)
	#calculate center of image
	img_center_y=img.shape[0]//2
	img_center_x=img.shape[1]//2


	#returns current position/value of trackbar
	radius= int(cv2.getTrackbarPos('r','controls'))
	#returns current slider value of trackbar 's'
	shape=cv2.getTrackbarPos('s','controls')

	#checks if shape varible is off (0) or on (1)
	#draw square if switch is on
	if(shape==1):
		start_point=(img_center_y-100,img_center_x-100)
		end_point=(img_center_y+100,img_center_x+100)
		#change thickness of square based in trackbar 'r'
		thickness = radius
		#create a square
		image = cv2.rectangle(img, start_point, end_point, color, thickness)
		pass
	#draw circle if switch is off
	else:
		#draw a red circle
		cv2.circle(img,(img_center_y,img_center_x), radius, color, -1)
	#show the image window
	cv2.imshow('img',img)

	#waitfor the user to press escape and break the while loop
	k = cv2.waitKey(1) & 0xFF
	if k == 27:
		break

#destroys all window
cv2.destroyAllWindows()
Explore more trackbar example:
- HSV color trackbar
- RGB color palette trackbar
- Image blur trackbar
- Brightness, and Contrast trackbar.
Stay updated with the latest advancements Explore event, webinars and conferences